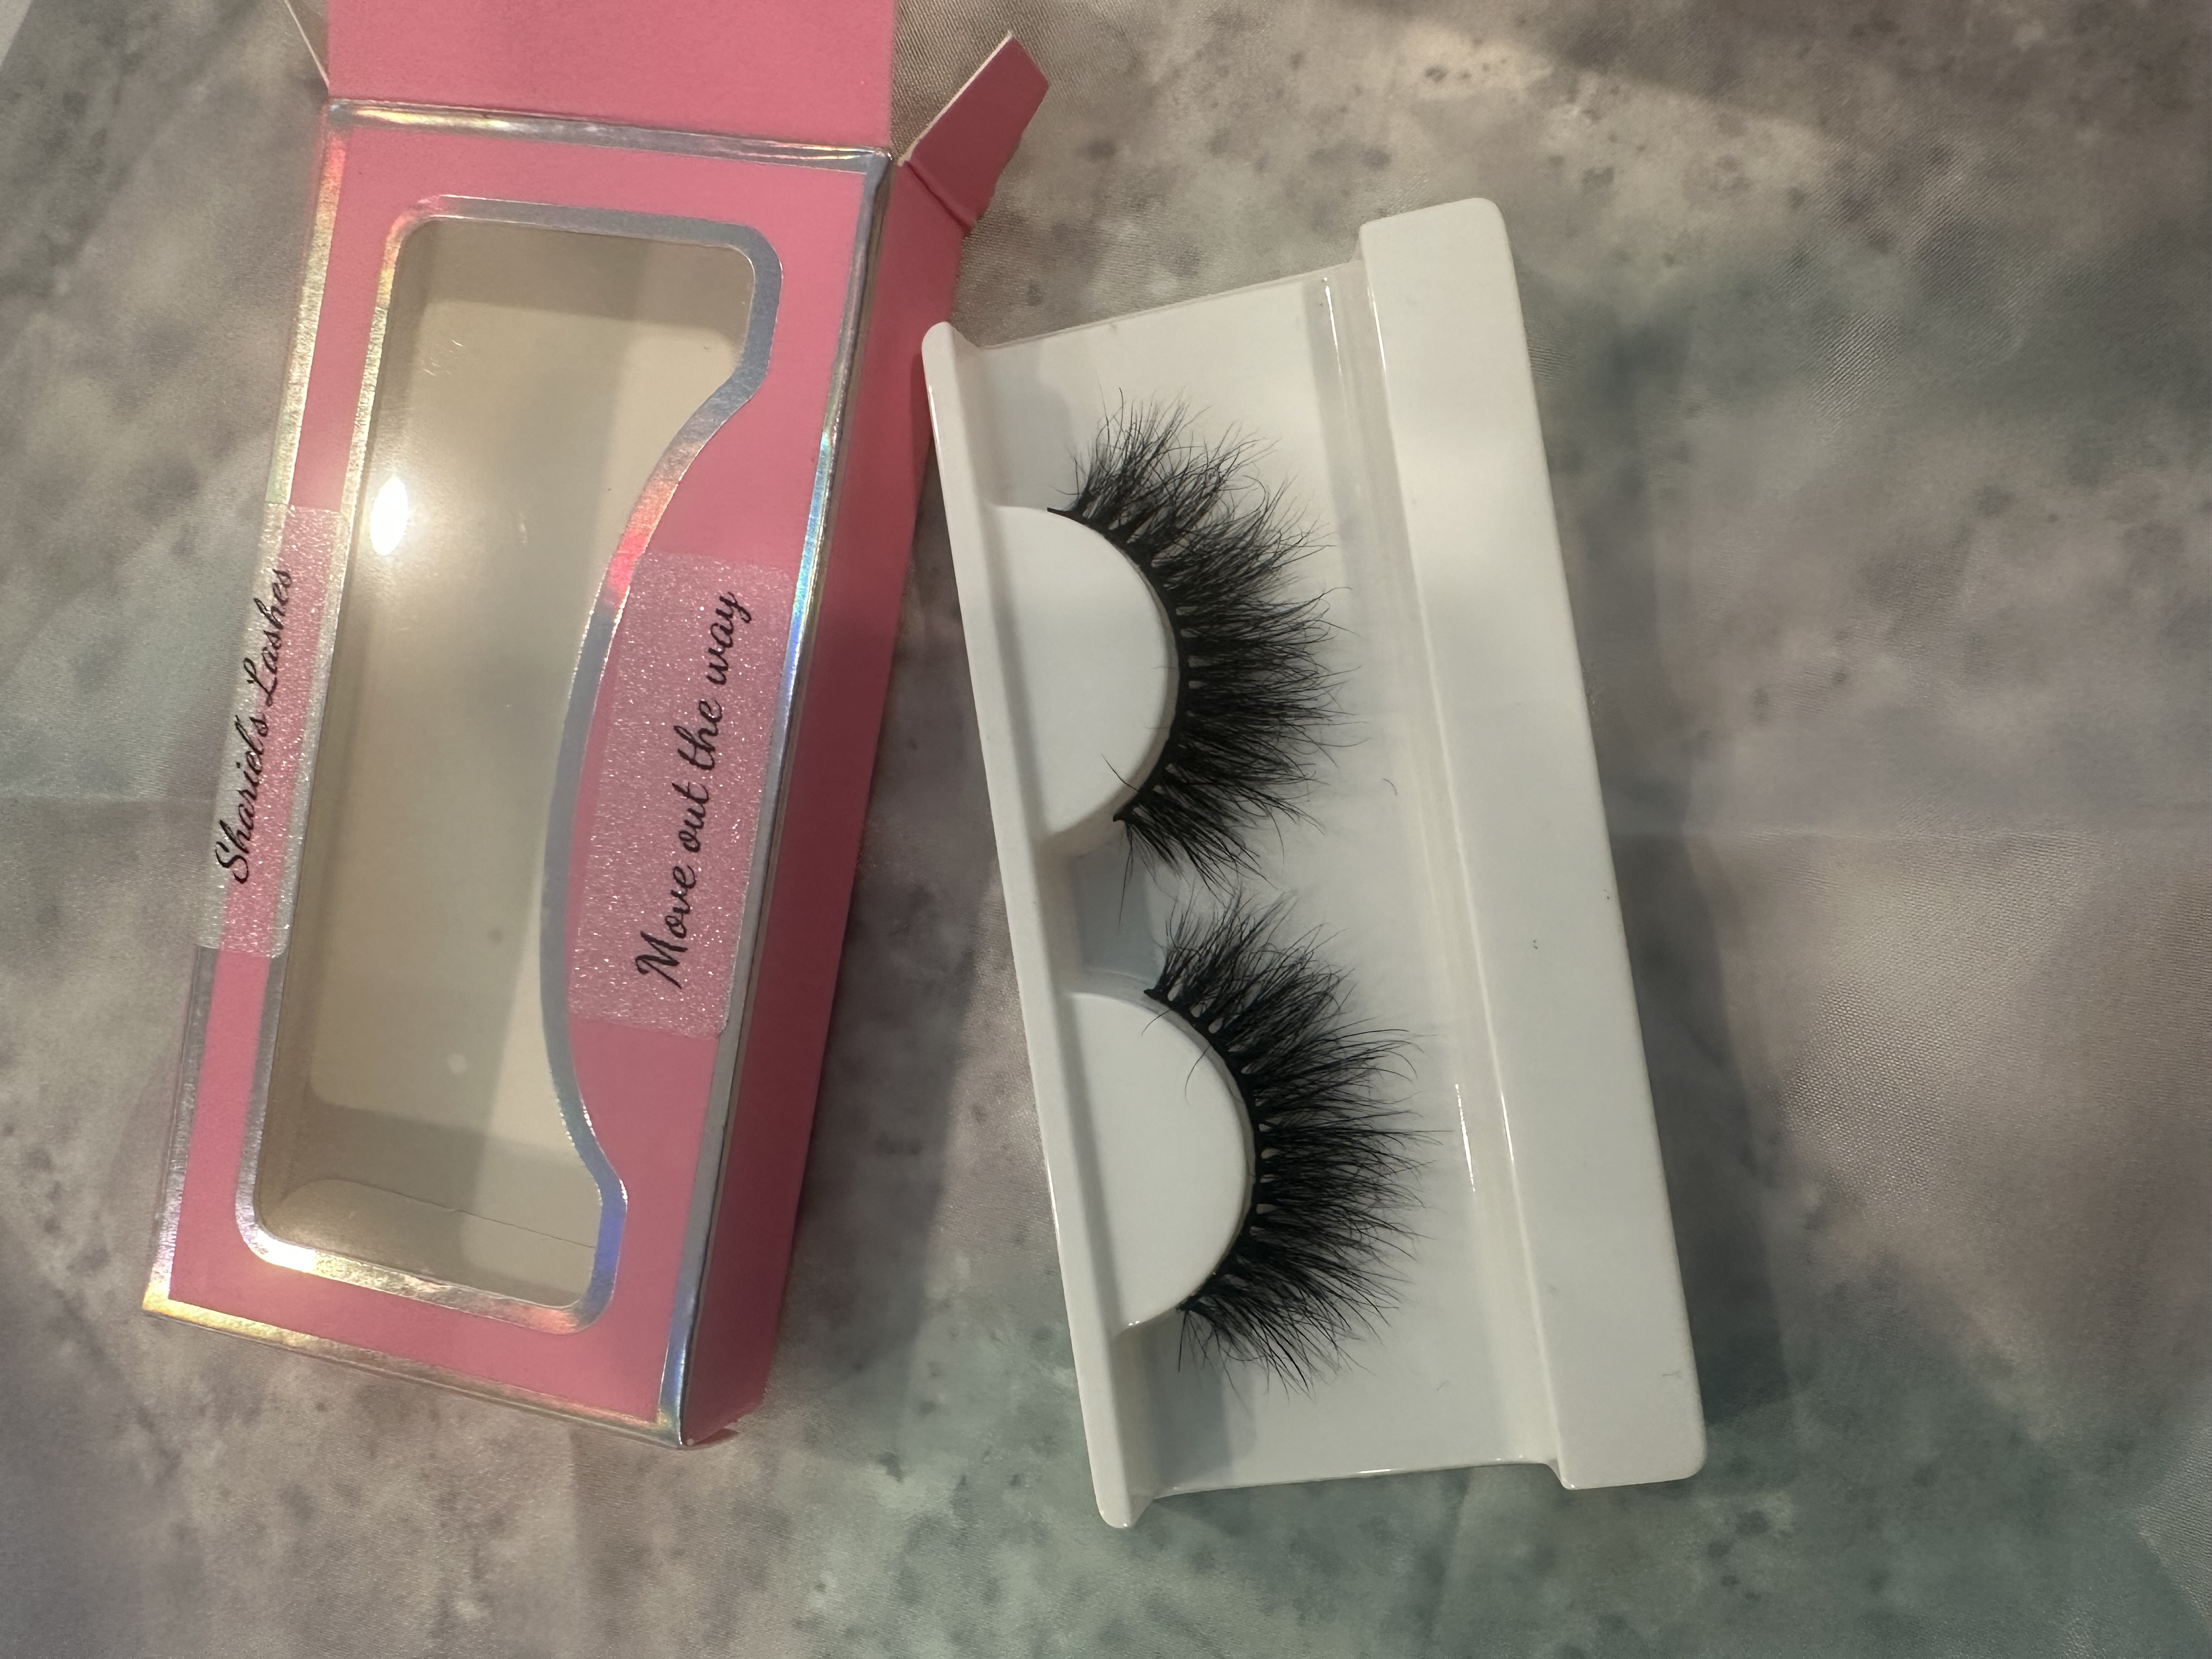
Every pair of Shariel's Lashes is designed to last 20+ wears for strip lashes and 30+ for magnetic. But that number depends entirely on how you care for them. Treat your lashes right, and they'll keep looking fresh wear after wear. Here's your complete guide.
Step 1: Removal (Do It Right)
How you take your lashes off is just as important as how you put them on.
For Strip Lashes
- Never rip them off. Start at the outer corner and gently peel inward.
- If the glue is stubborn, press a warm, damp cotton pad against your lash line for 10 seconds to loosen it.
- Grip the band, not the fibers. Pulling on the lash hairs damages the shape.
For Magnetic Lashes
- Gently slide the lash off the magnetic liner from the outer corner.
- Use micellar water or our Lash Bath to remove the magnetic liner from the lash band.
- Clean the magnets with a cotton swab to ensure a strong hold next time.
Step 2: Clean After Every 3-4 Wears
Buildup of glue, makeup, and oils is the #1 reason lashes lose their shape and stop holding properly. Clean your lashes regularly — we recommend after every 3-4 wears, or after any heavy makeup day.
Cleaning Method
- Place lashes on a clean surface (a paper towel works great).
- Apply lash cleanser — Use our Lash Bath or oil-free micellar water on a cotton swab.
- Gently roll the cotton swab along the band to dissolve glue residue.
- Use tweezers to carefully peel off any remaining glue from the band.
- Wipe the fibers with a clean, slightly damp cotton swab to remove makeup.
- Reshape — While damp, curve the lashes around a round surface (a pen or makeup brush handle) to restore the curl.
- Air dry completely before storing. Never use heat.
What NOT to Use
- Oil-based makeup removers (breaks down lash fibers and glue)
- Water directly on the lash band (warps the shape)
- Rubbing alcohol (dries out fibers, makes them brittle)
- Mascara directly on false lashes (clumps fibers and shortens lifespan)
Step 3: Store Properly
Always return lashes to their original case. This maintains the curl, protects the fibers from dust, and keeps the band shape intact. Never toss them loose in a makeup bag — that's how lashes get crushed, bent, and ruined in one trip.
Store your case in a cool, dry place. Avoid:
- Bathroom shelves (steam from showers warps lashes)
- Car dashboards or glove compartments (heat destroys adhesive and fibers)
- Direct sunlight (fades and weakens fibers)
Step 4: Know When to Replace
Even with perfect care, lashes don't last forever. Replace your lashes when:
- The band has lost its flexibility and won't curve to your eye
- Fibers are visibly thinning or falling out
- The curl won't hold even after reshaping
- You notice a smell (bacteria buildup)
- Glue residue won't come off the band despite cleaning
Pro Tips for Maximum Lifespan
- Apply mascara to your natural lashes BEFORE applying false lashes — never directly to the falsies
- Use the minimal amount of glue needed — excess glue is harder to remove and degrades the band faster
- Alternate between 2-3 pairs — Rotating lashes gives each pair more time to rest and maintain shape
- Invest in tweezers — Using proper lash tweezers for application and removal reduces band stress
Care Timeline
| When | What to Do |
|---|---|
| After every wear | Return to case, peel visible glue |
| Every 3-4 wears | Full clean with lash shampoo |
| Monthly | Deep clean + reshape curl |
| After 20+ wears | Evaluate for replacement |
Taking care of your lashes isn't just about saving money (though at $12 a pair for 20+ wears, that's already a great deal). It's about always having a fresh, beautiful pair ready to go whenever the occasion calls. Your lashes are an investment in looking and feeling your best — treat them that way.